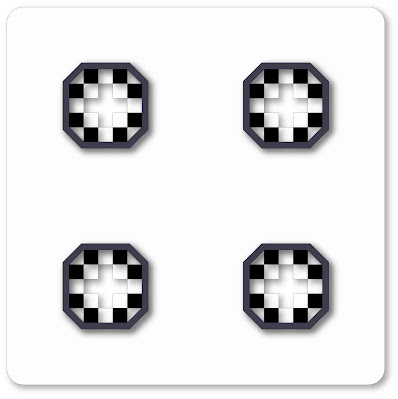
front panel is layered, then mounted onto slightly offset base.
Components
include front panel with cutout polygon windows,
contrast under-lays and
overlays.
Each block has separate petals and combined
petals “ring” base,
polygon narrow frame and
center checker square.
Set up as “top fold” card but
works as side fold also.
Attach card back panel to back of front panel
with
perforated flange.
Card measures approx. 6” x 6” when completed.
ASSEMBLY: 1. Identify and cut the shapes:
(upper l to r clockwise)
checker show-thru underlay
front panel overlay
4 sets of flower units, including top to bottom:
center checker square
checker rim ring
outer checker units overlay
4 middle petals
petals ring overlay
card base back with flange, card front base
2. Complete Steps 2-4 for each of 4 blossom units:
Position rim ring on top of outer checker units overlay
with outer edges and intermittent inward edges aligned
and glue in place. Finished unit shown on right.
3. Position each of the assembled units from Step 2
onto front of the front panel, with checker inward edges
centered/aligned around the + cutout, and glue in place.
Here is the completed center panel to this stage.
4. Position 4 varied middle petal shapes around ring with
corresponding edges aligned, and glue in place. Petals
assembly unit is shown completed at right, below.

5. Position each petals unit on front panel assembly,
slipping the center opening over checker assembly
ring (a snug and precise fit) and attach in place.
6. Position the assembled front panel on top of
the checker contrast underlay panel, so that it
shows thru the + openings and creates the dark cross
in the center of each blossom unit; glue in place.
7. Position one of the individual center "checker" squares
in the middle of the blossom unit, point to point with
the cutout + edges, and attach to the contrast panel.
This shows the completed center panel unit
with the individual center squares in place.
8. Complete the card by assembling the card base,
bending the BACK panel's top flange back, then positioning and
attaching top edge of FRONT (backside) to flange.
Position and attach the card front assembly onto the card
base front. Here is the completed card.


No comments:
Post a Comment