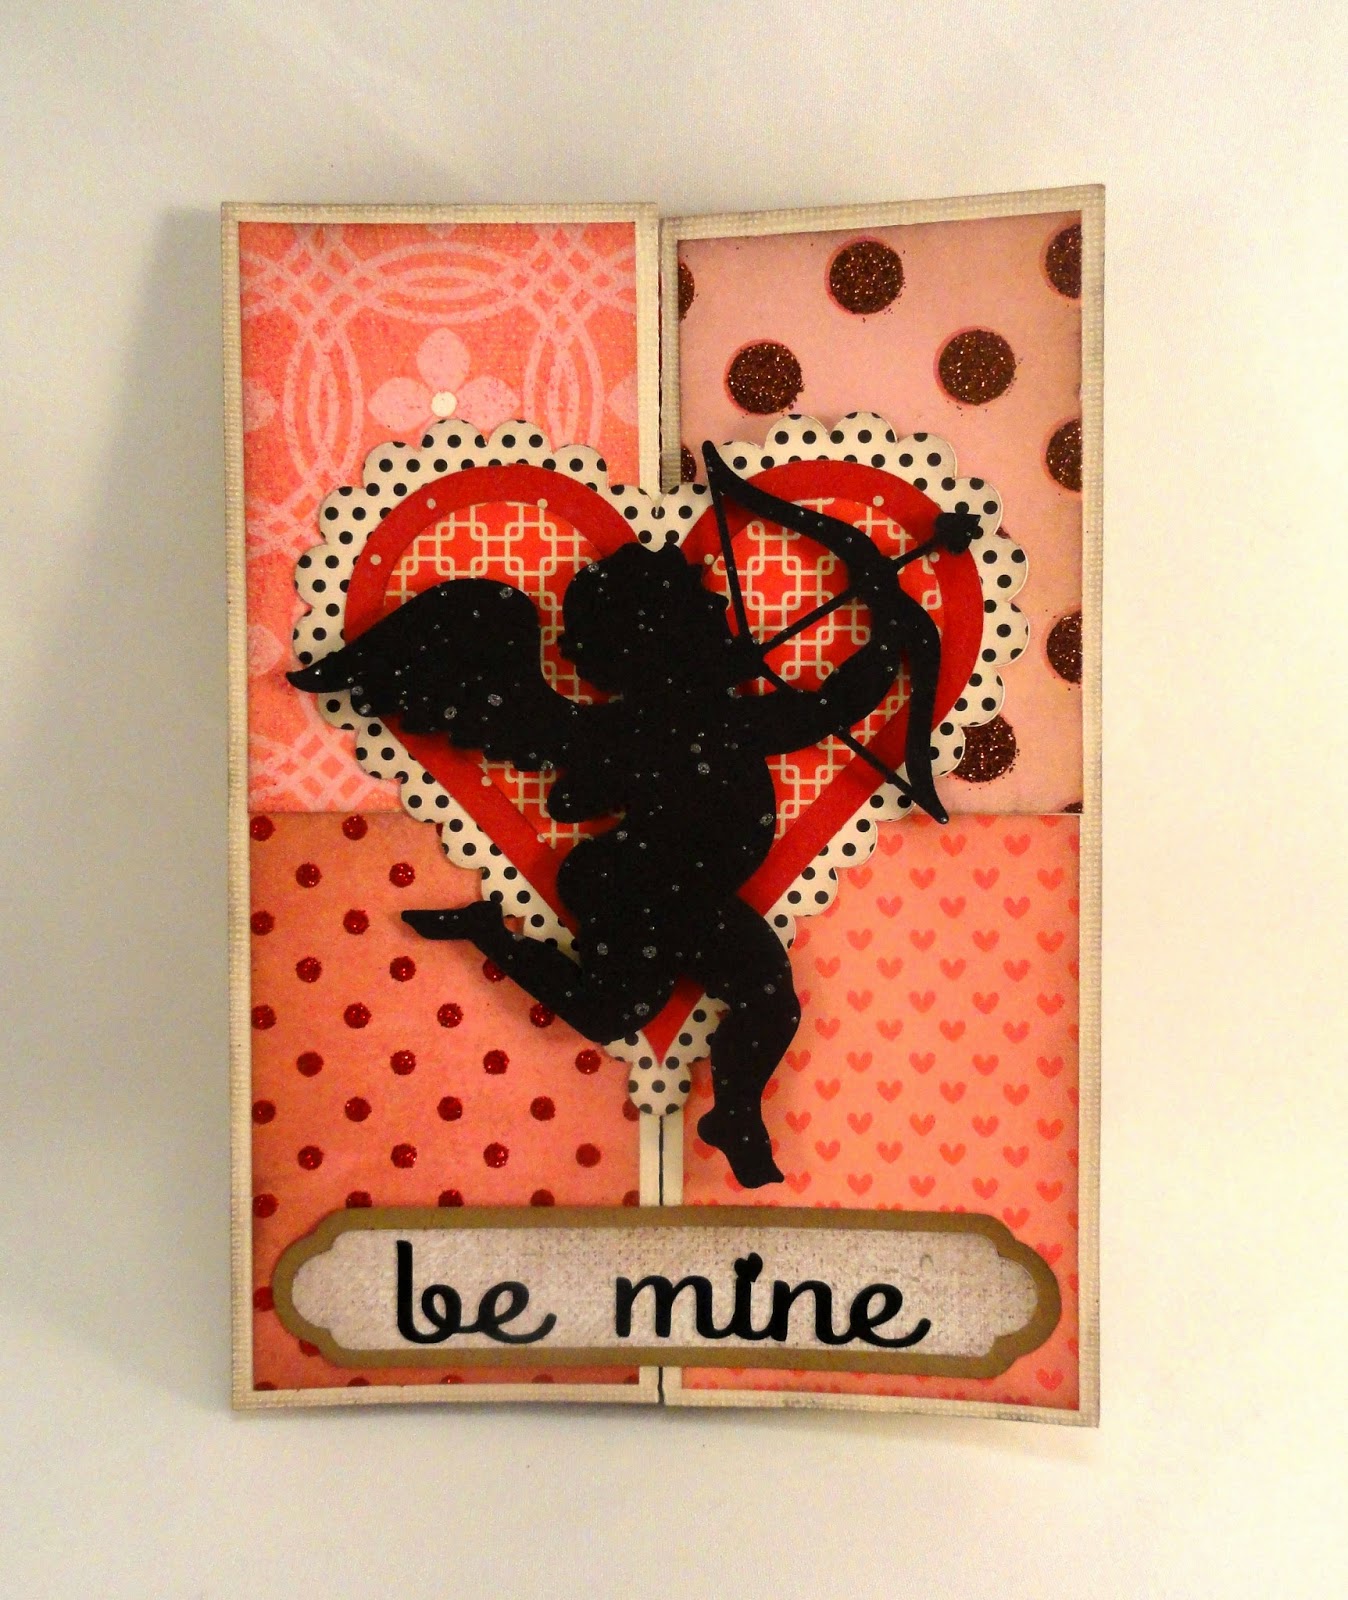
Pattern play is only part of the fun
with this 5x7 valentine card.
Left and right sides fold in to the center,
with a large heart medallion crossing the divide when closed.
Rectangle panels adorn front panels, inner side panels,
and center back inside panel, so choose lots of fun papers.
Cupid silhouette shape over three-layered heart,
plus two layer plaque with "be mine" words cutouts
adorn the front.
Impressive to look at, but easy to assemble.
ASSEMBLY:
1. Identify and cut the shapes:
A left side card base (viewing face side)
B right side card base
C inner back decorative panel
D inner side decorative panels (2)
E front side decorative panel halves (4)
F 3 heart layers and cupid medallion
G be mine and 2 plaque layers
2. Prepare the left and right panels by folding on the perforations (as viewed from the face side:
LEFT - (l to r) mountain fold with half heart outline remaining flat to extend; valley fold, valley fold (tab perforation)
RIGHT - mountain fold
3. Overlap the left edge of RIGHT side panel to tab perf line, adjust top to bottom, then glue in place.
4. With the sides joined, fold the sides in to meet at the center, test for proper meeting and alignment, and re-crease as necessary for a flat lie.
5. Position inner decorative panels over their respective sections with edges offset within sections and glue in place.
(NOTE that the left inner panel will cover the cutout space vacated by the half heart, so take care when applying adhesive to the backside of the decorative panel.)
6. Position and attach the front decorative panels to the front side sections. NOTE that the sections touch at the center horizontal edges, and outer edges are offset within the sections like the inner decorative panels.
Here the half heart extension is visible over the placed right half front panels in finished positions.
7. Layer the three heart shapes and attach to form a unit. Position the heart unit over the left front of the card so that the heart attaches with edges aligned with the cut half edges on the scalloped heart extension. Glue entire heart in place.
8. Position the cupid shape over the heart unit and glue in place.
9. Assemble the two-layer plaque shape with the "be mine" word cutouts evenly spaced on the front.
Position the plaque below the heart/cupid assembly. Attach half only of the plaque, either on the left side, or the right side, as was done for this model.
Here is the completed card being closed.
Here is a view of the card closed completely . . .
. . . and partially opened to reveal the fun patterned paper panel(s) inside.


Hi, Jodi. I am new to the world of Silhouette. Do all these parts come with the design at the Silhouette Design Store--cupid, hearts, panels, card blank, etc?
ReplyDeletekren dot kurts at gmail dot com
Another fun and pretty Valentine's day card! I love your choice in pattern papers.
ReplyDeleteIs this pattern compatible with the Portrait 8 1/2 x 11 mat? kren dot kurts at gmail dot com
ReplyDelete