Dress up a hard globe sucker for the patriotic season
by wrapping in one of several suckers available as
by wrapping in one of several suckers available as
cut file downloads, including this 3D pinwheel "stand up"
style. Each file includes two styles: tent style with fold-inward
side edges to help hold sucker in place; and
simpler twine-tied closure at top.
Other designs in the sucker wrap collection
include these three:


Only the Pinwheel Sucker Sleeve (simple version)
will be demonstrated in this tutorial.
(To view the "folded edge ridges" version, please
follow this LINK to a different tutorial for
other nearly-identical designs - see Steps 7-10.)
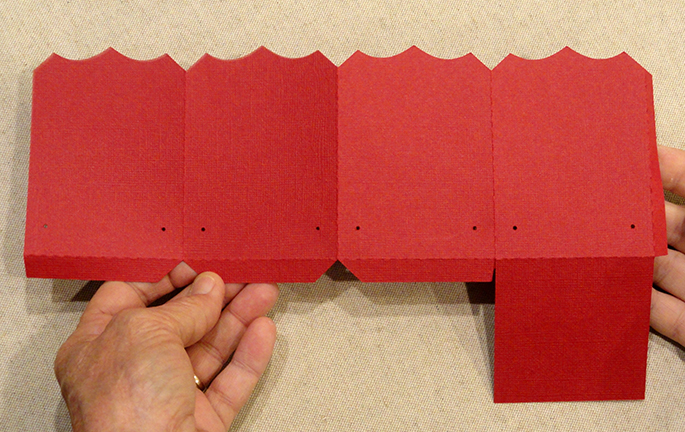
ASSEMBLY: 1. Identify and cut the shapes:
A (simple style) sucker wrap/holder
B pinwheel (two-sided suggested;
sample is stripe front, plain back)
Also shown are the decorative brad, sucker

dowel to roll each extension forward in a curling
motion without establishing creases of any kind.
 3. Carefully curve each wing extension in order around

pinwheel, positioning the punch hole end "bracket"
over the center hole and glue in place.
 4. When pinwheel is fully assembled and dry,

insert decorative brad through center hole,
then insert prongs through hole of wrap shape
and secure in place by bending back prongs.
 5. To finish: place sucker between walls

of sleeve with stick extending at center top.

Hold in place while threading twine
through holes pair and tying knot and bow.