Three slightly varied five-point stars
(largest 2.625" tall x
2.75" wide to smallest 2" x 2.125")
have backside attachment
variations
(plain star with pentagon base box,
or bend-back tabs to overlap
and glue)
that help stars keep their formed shapes.
This helps them great for attaching
to wreaths,
dimensional cards, candle rings,
and other 3d paper or other
display objects, like . . .
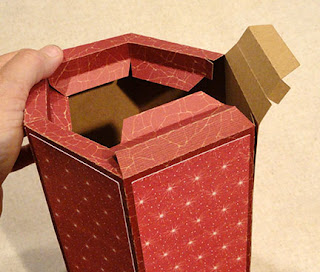
. . . this large-scale Uncle Sam hat decor,
where two smallest size stars in this file are
quick-grab glued around the hat band.
Find short description of attaching stars
at tutorial on this blog, final steps.
Find short description of attaching stars
at tutorial on this blog, final steps.
ASSEMBLY: 1. Identify and cut the shapes
of the style star you prefer for the specific project:
Small, med, and large star shapes
are shown as stars with box bases (left), or
stars with bend-back tabs (right).
You may wish to test the assembly of each
to see the advantages.
Tab stars are quick to assemble - only one piece.
Box base stars have more stability
and may provide easier surfaces for gluing.
NOTE: it may be helpful to use a flat tool like
the spatula shown here placed behind
the tabs to press against.
of the style star you prefer for the specific project:
Small, med, and large star shapes
are shown as stars with box bases (left), or
stars with bend-back tabs (right).
You may wish to test the assembly of each
to see the advantages.
Tab stars are quick to assemble - only one piece.
Box base stars have more stability
and may provide easier surfaces for gluing.
TAB BACK STAR VARIATION
2. Prepare the tab star by detaching tab ends (if necessary)
and bending these back.
Next, bend as "mountain" fold along each
perforation line that radiates through star center,
face side out.
3. Re-direct the fold lines opposite the long points
(short section) as "valley" folds.
4. To give dimension to the star, place face up
on flat surface and apply pressure in toward center
to cause center to rise somewhat.
5. Next, while trying to maintain the dimension
created in step 4, turn the star over . . .
. . . with tabs crossing at the back . . .
. . . apply adhesive under the top tab
(quick-grab glue recommended) . . . .
. . . and apply pressure to join the tabs.NOTE: it may be helpful to use a flat tool like
the spatula shown here placed behind
the tabs to press against.
PENTAGON BASE BOX STAR VARIATION
6. Prepare the star by creasing on all crossing
perforation lines as "mountain" folds (see step 2),
re-directing short segment of each perf line (see step 3),
pushing toward center to add dimension (see step 4).
7. Prepare the pentagon base box shape by
bending back on all perforation lines for pentagon
center base and wall side tabs, as shown.
8. Bend the walls toward the center, overlapping
plain edge over adjacent tab perf line.
Apply glue to tabs, then . . .
. . .join all seams.


