Showing posts with label valentine card. Show all posts

Tuesday, February 8, 2022

Card Heart N Kisses Patchwork

Showcase a great red prints paper collection: 
cut small squares or triangles (as many as 30 shapes, 
with duplications or not) to imitate quilt patchwork with 
this unique square card. (Option provided to eliminate 
some smaller patches by substituting combined polygon shapes
where the Xs cover and hide inidividual squares & triangles.) 
Angular heart base with dash placement guides assists 
“building” the patch heart. Then place the composition 
onto the rounded corner card front accent panel. 
XOX accent (built on a whole base with individual “letter” 
overlays) is then placed across the patchwork. 
Assembled card front is attached to top flanged back panel, 
allowing it to stand as self-easel display. 
Card measures approx. 6x6 when assembled and closed. 

ASSEMBLY: 1. Identify and cut the shapes:
A & B card base front and back
C front accent offset panel
D patchwork heart base with grid guidelines
E patchwork squares and triangles
F XOX base silhouette
NOTE: F can be cut as the 'O' shape (eliminate
separate 'O'), then overlaying the Xs on each end.
G separate X, O and X shape overlays
2. If not already completed, organize the squares
and triangles into preferred order for balance,
variability across columns and rows, until final
layout is achieved.

Become familiar with the dash line grid of
the heart base silhouette that will assist in positioning
and aligning the squares and triangles.
NOTE: the dash grid includes the merged polygon area
on each mid side area where they would be
substituted for the individual squares and triangles
that may be unseen when the XOX overlay is in place.
If using individual squares and triangles like the sample
card is, visually extend the dash lines above, below
to be able to position the individual shapes.
3. Begin where it makes sense for you to position
and attach in place each individual patch.
Consider placing the glued-up patchwork under a flat
heavy weight such as a thick book or other equivalent
until thoroughly dried (an hour or more)
to assist in getting consistent attachment, and to help
minimize warping or curling.
4. Prepare the card base by bending back the top flange,
then placing front and back base shapes back to back,
overlapping front panel across flange, adjusting for
alignment, then gluing in place.
5. Position the offset accent panel on top of the card front
with equal narrow margin all around, and attaching in place.
6. Position and attach the individual X & O cut outs 
on top of the base silhouette. Press under flat weight til dry.
7. Position and attach the patchwork heart, centered, onto 
the card assembly front panel.
Position the XOX assembly, centered, across the
heart, either aligned with bottom edge even with
one of the row edges, or (as sample is) centered over
the vertical mid-line with top and bottom edges slightly
beyond the next row "seam lines".

Press the freshly glued-up assembly under flat weight until dried.

Here again is the completed sample card.


Tuesday, February 7, 2017

Hearts Stitched Centers Card

Small hearts cut from fifteen paper prints 
are arrayed in three rows. 
Center needle holes on each align 
with card front overlay so that they can be 
stitched in place with perle cotton or floss. 
Contrast card base is slightly offset, 
measures approx. 5x7 when top folded. 

ASSEMBLY: 1. Cut the shapes:
card base (gray in this sample)
card accent front with stitching holes
15 hearts with stitching holes & perf lines
If a gradation color sequence is desired,
consider this method:
Select 15 or more print papers to use,
then line them up in light (no. 1) to dark (no. 15)
order. Step back and "squint" to see if the order
needs adjustment. Select the 15 best,
then cut one heart from each.
One way to arrange the hearts for gradation
from light upper left to darker lower right
is to place the print order hearts as shown.
Switch hearts around as desired or preferred.

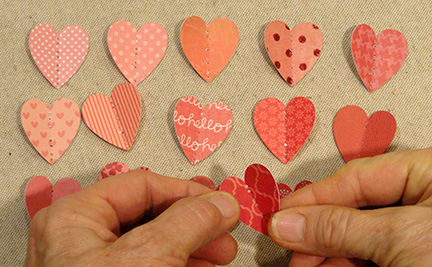
2. Bend each of the hearts face-to-face
along the center perforation/holes line.
3. Begin with the first (no. 1 position) heart,
apply a thin line of adhesive at the fold
on backside . . .
. . . then position it in over the accent front with
holes aligned, and hold in place until secure,
but take care that only the fold area attaches.
(NOTE that the TOP of the front accent card
has a slightly wider margin.)
4. Thread a 36-40 inch length of perle cotton
(no. 5 recommended) or 6-ply floss into a blunt
tapestry needle. Anchor the tail end with
a small strip of "paper" tape on backside
near the no. 1 top hole.
5. Insert the needle into the top hole,
push through to front . . .
. . . and pull through completely.
6. Insert the needle into the next lower hole
and push through to backside, then draw
thread to backside completely. This is
the first stitch.
Continue in the same fashion to complete
the following three stitches to attach heart no. 1.
Also complete the stitch below the first heart
as shown.
7. Position and glue heart no. 2 in place . . . 
. . . and complete the four stitches plus 
the between stitch to attach second heart.
Bend the heart sides upward slightly to make
sure that only the ridge is attached to card front.
8. Continue to add the next heart, complete
stitches to finish the first column of hearts.
Work the next column bottom to top, then
continue until all hearts are in place
and stitching is completed.
9. After the final stitch is complete, draw
the remaining thread fully to the backside,
clip excess leaving approx. 1" tail . . .
. . . and anchor with a small piece of tape. 
Here is the completed hearts panel.
(Quicker than you might think!)
10. Position and attach the front panel
to the front of the card base to complete the card.
Here is the finished card.
Change the hearts color to make this card
fit any occasion: green for St. Patrick's Day,
pastel for Easter, red white and blue for
Independence Day, etc.

Thursday, January 19, 2017

Cathedral Windows Quilt Card

Circles fold over patchwork squares to create 
a secondary pattern between and around 
the replica quilt, titled "Cathedral Windows". 
Sixteen buttons (3/16" to 1/4" size) are laced into place
at the corners and intersections to tighten. 
Sawtooth edge of center panel adds more interest. 
Measures approx. 5" x 5" when top folded. 

ASSEMBLY: 1. Identify and cut the shapes:
A main card base (top fold)
B accent base with positioning guide 
and needle lacing holes
C fold over circles (9)
D patchwork squares (9)
buttons: 16 count of 3/16" to 1/4"
2. Fold each of the flanges on each circle
forward . . .
. . . and fingernail crease them, then open backup flat.
3. Position one patchwork square, face outward,
back to back with the creased circle, centered,
and glue in place.
Make sure that the square's edges are all
a fraction in from the creases.
4. Refold the circle's flanges inward.
5. Arrange the patchwork units in the layout preferred,
then position and glue each one securely to
the overlay sawtooth square, with edges
precisely at the dash line grid.
As each unit is positioned, make sure it is
abutted as snugly next to its neighbors so that
no space shows between.
(The edges that match are intended to
simulate a sewn seam!)
Here is the patchwork sawtooth unit completed.
6. To complete the button attachment,
cut a 34" length of soft twine or perle cotton,
and secure one end with cello tape near
the top corner (or wherever you select).
7. Thread the twine onto the finest needle
through which twine will pass. Insert the needle
through the corner hole and pass twine
completely through to the front.
8.Thread the twine through first button, back to front,
then slide down into position flush with panel front,
then pass needle through second button hole . . . 
. . . and down through the same hole as before.
Pull twine all the way through to back, and
snug the button tightly against the paper corner.
9. Move across the top to insert needle into
the next available hole, and repeat the process.
Work across, then down to the next row and
across, etc., until all 16 buttons have been attached.
10. (NOTE that I changed twine colors after I
could see what the black looked like in the buttons.)
The needle and twine should end up at 
the backside of the card. Trim off excess
leaving approx. 1" tail . . . 
. . . pull tail tightly and then secure end
with a small piece of cello tape.
Here is the completed sawtooth panel.
11. Position and attach the sawtooth panel
onto the front of the card, centered.
Here is the completed card.
Change the coloration, add a tag, and this
little quilt card could double as a "new baby" card,
a Christmas card, a get well card, a birthday card,
or to coordinated with any holiday or occasion.


Sunday, January 4, 2015

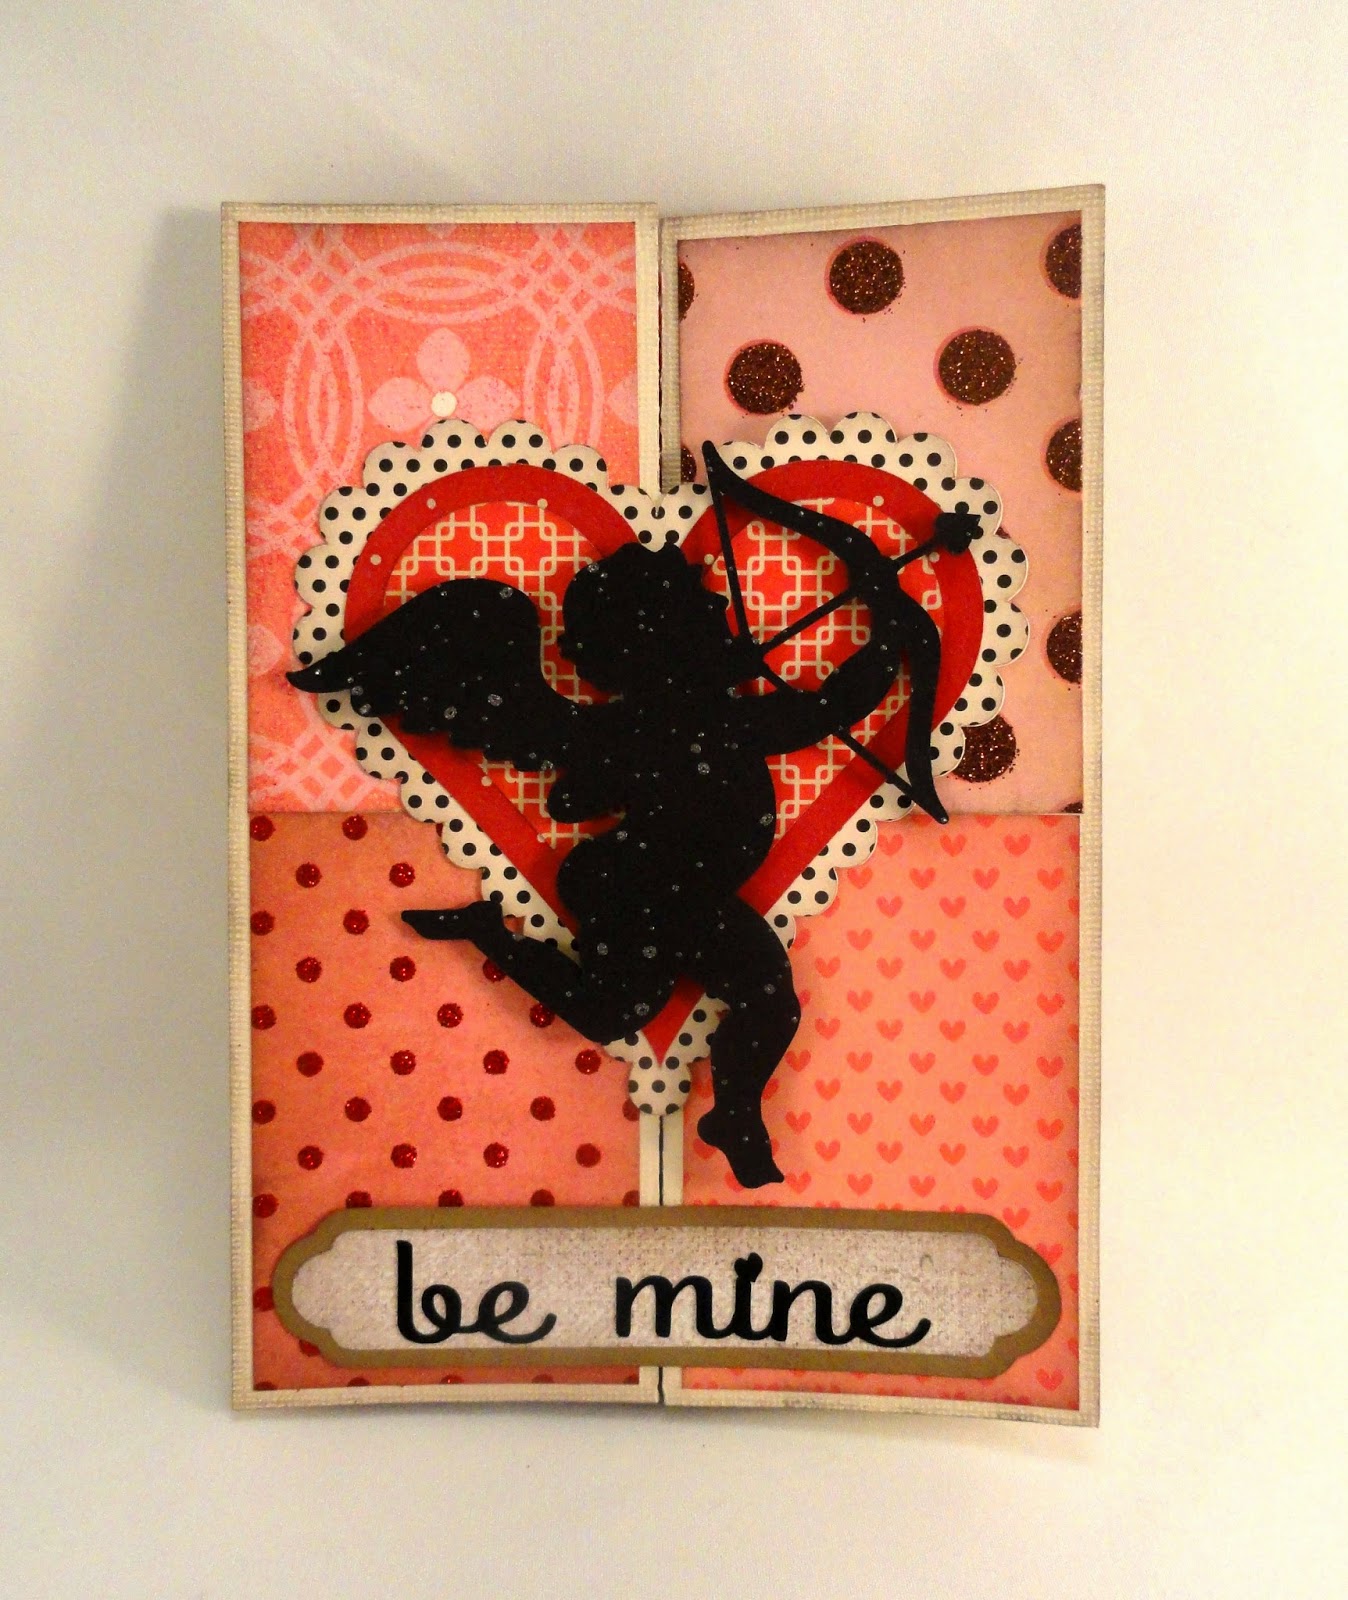
Be Mine Cupid Medallion Double Bi-fold Card


Pattern play is only part of the fun
with this 5x7 valentine card.
Left and right sides fold in to the center,
with a large heart medallion crossing the divide when closed.
Rectangle panels adorn front panels, inner side panels,
and center back inside panel, so choose lots of fun papers.
Cupid silhouette shape over three-layered heart,
plus two layer plaque with "be mine" words cutouts
adorn the front.
Impressive to look at, but easy to assemble.

ASSEMBLY:
1. Identify and cut the shapes:
A left side card base (viewing face side)
B right side card base
C inner back decorative panel
D inner side decorative panels (2)
E front side decorative panel halves (4)
F 3 heart layers and cupid medallion
G be mine and 2 plaque layers


2. Prepare the left and right panels by folding on the perforations (as viewed from the face side:
LEFT - (l to r) mountain fold with half heart outline remaining flat to extend; valley fold, valley fold (tab perforation)
RIGHT - mountain fold

3. Overlap the left edge of RIGHT side panel to tab perf line, adjust top to bottom, then glue in place.


4. With the sides joined, fold the sides in to meet at the center, test for proper meeting and alignment, and re-crease as necessary for a flat lie.


5. Position inner decorative panels over their respective sections with edges offset within sections and glue in place.

(NOTE that the left inner panel will cover the cutout space vacated by the half heart, so take care when applying adhesive to the backside of the decorative panel.)


6. Position and attach the front decorative panels to the front side sections. NOTE that the sections touch at the center horizontal edges, and outer edges are offset within the sections like the inner decorative panels.

Here the half heart extension is visible over the placed right half front panels in finished positions.


7. Layer the three heart shapes and attach to form a unit. Position the heart unit over the left front of the card so that the heart attaches with edges aligned with the cut half edges on the scalloped heart extension. Glue entire heart in place.


8. Position the cupid shape over the heart unit and glue in place.

9. Assemble the two-layer plaque shape with the "be mine" word cutouts evenly spaced on the front.

Position the plaque below the heart/cupid assembly. Attach half only of the plaque, either on the left side, or the right side, as was done for this model.


Here is the completed card being closed.


Here is a view of the card closed completely . . .


. . . and partially opened to reveal the fun patterned paper panel(s) inside.