
Hexagon base gift box is cut in one piece,
with six
wall panels that extend into upper sections
with angled perforation lines that
allow pleats to bend inward
where a cord or narrow ribbon threads through pairs
of holes
to cinch in and tie as closure.
Add optional contrast accent
rounded-corner offset rectangles
to side panels and triangle accents above side
panels.
Assembled box measures approx. 3” depth x
3.4” width
x 5.875” tall with 3.5” tall side panels (excludes pleated top).
ASSEMBLY: 1. Identify and cut the shapes:
A main duffle hull shape
B side wall accents (6) C top accent triangles (6)

2. Prepare the hull shape by bending back on all
perforation lines for bottom hexagon floor, tabs . . .

. . . for side wall sections . . .

. . . and for horizontal mid line.

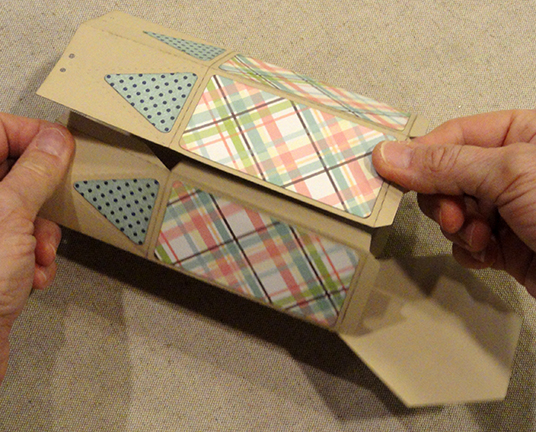
3. Shape the "cinched in" top portion by bending forward
on each angled perforation line pair, and . . .

. . . top short perforation line between punch hole pairs.

4. Position and attach the side wall offset accent shapes
within the area defined by perforation lines.
Position and attach the offset triangle shapes within
defined areas above walls.

5. Form the hull into a tube to bring the straight side edge
to overlap the side flanges to align at perforation lines
for upper and lower segments, and glue in place.
NOTE that the symmetry of the hull shape will allow
the hull to be made flat so that fingertip pressure can
be applied along the side seam segments to ensure
a good seam connection.

6. Prepare to complete the floor seams by bending
the five flanges inward to perpendicular position,
applying adhesive to the upward edges, then . . .
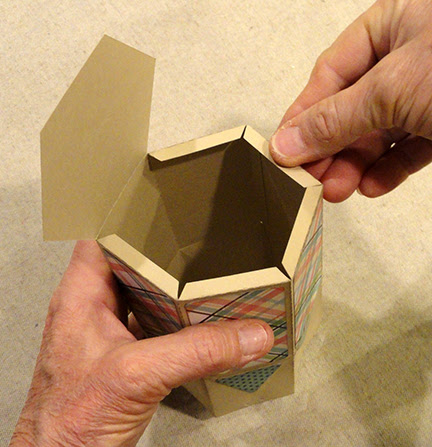
. . . fold the attached hexagon base into position,
adjust wall and base edges to align as precisely
as possible, and glue in place.

NOTE that it may be helpful to place the box base-down
on flat work surface then insert a tool end such as the new
pencil eraser shown to apply pressure along each base
seam to ensure complete and secure attachment.

7. Insert gift contents, then bend and arrange the
upper pleats inward until . . .

. . . they come fully together.

8. Thread cinching cord(s) or ribbon through punch hole
pairs, then begin to pull tight until . . .
 . . . the cord can be knotted, snugged tighter,

and tied into neat bow.


Here is the completed duffle style container.

No comments:
Post a Comment