Foil-wrapped chocolate (Dove
Brand )"squares"
are the edible part of this flat card flower design.

Position and secure Dove brand chocolate candies
at center
and six petals, with "cover" shapes to disguise
the wrapper
branding placed on top.
Measures approx. 4.875" wide x 4.625" tall.

Dimensional envelope in a separate download file
for Flower Choc Candy
for Flower Choc Candy
Dimensional crayon-box style envelope especially designed
for enclosing the thickness of the Dove candies flower card.
Twine wrap circles pair on flap and body provides secure closure.
Measures approx. 5.125" wide x
5" tall x .625" thick when closed.
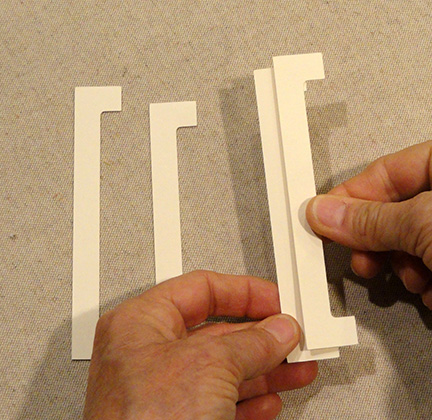
ASSEMBLY: 1. Identify and cut the shapes:
A main card base (cut 3 for stiffness to hold candy)
B card back base (with slots to hold sentiment card)
C sentiment card
D leaf base E leaf accent overlay
F "bloom!" word cut
G contrast petals base
H main petals shape
I flower center
J squares to attach to chocolate candy tops
 K dimensional envelope
L circle clasp pairs (cut 4 circles total)

ASSEMBLY: 1. Identify and cut the shapes:
A main card base (cut 3 for stiffness to hold candy)
B card back base (with slots to hold sentiment card)
C sentiment card
D leaf base E leaf accent overlay
F "bloom!" word cut
G contrast petals base
H main petals shape
I flower center
J squares to attach to chocolate candy tops

L circle clasp pairs (cut 4 circles total)

2. Position card base layers and attach,
taking care to line up outer edges and center
circle punch as precisely as possible.
(Flatten with a flat weight during the drying process
if using liquid adhesive to prevent warping
or curling.)

3. Prepare sentiment card and insert into
slots on card back face side, then . . .

. . . apply adhesive to area around card corners
(so card can be removed if necessary
and re-inserted) . . .

of main card assembly, taking care to line up
edges.

4. Position and attach leaf accent onto
left side of leaf main shape, lining up
outer edge.

5. Prepare flower by layering and attaching
main petal shape on accent shape, with
flower center positioned over the middle,
aligning center circle punch.

offset within the corresponding shaped
portion of the card base.
7. Position flower petals assembly onto
card base assembly, using center circle punch
and offset edges, and glue in place.

8. Position and attach the "bloom" word cut
and separate exclamation and point
on the leaf shape.

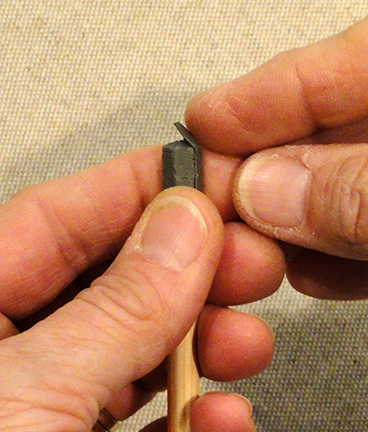
by adding a little curl across the longest
direction of the "squares".

10. Position and attach square toppers to
corresponding candy colors, then . . .

square at the center of the petals,
with flower center square in the middle.

ENVELOPE ASSEMBLY
11. Prepare the dimensional envelope shape
by bending back on all tabs, flanges,
or panels.

12. Layer and attach a pair of circles (twice) for
twine wrap fastener.

end through flap hole front to back . . .

. . . and glue tail in place on the underside of flap.

14. Insert eyelet/rivet through one of the circle units,
then insert through the flap circle, trapping
the twine.

Use eyelet tools to set the eyelet securely.
(This will also securely attach twine.)

Here is the completed flap circle with twine.

15. Position and attach the body circle
in the same fashion (but without twine).

16. Form the envelope body into a "tube"
to bring the plain edge of the side panel to
overlap the flange tab of the "front" panel . . .

NOTE that the envelope "tube" can be
flattened in order to apply pressure along
the side seam to secure more fully.

17. Fold the bottom side tabs inward,
bend the bottom tab inward to tuck inside
the bottom of the box.

When ready, the envelope is closed
by bending the top side tabs inward
and top flap down to overlap body.

Insert the Dove Chocolate candy flower card
into the box envelope . . .

around the fastener circles to secure.