
Shaped card has silhouette layers that stack
to
produce beautiful rose in bloom.

Card base is offset, with reverse back that has
perforation to fold away at bud base for message space,
with message oval
plaque.
Great for Valentine's Day, Mother's Day, anniversary,
sympathy,
friendship and more.
Top slot included to thread narrow ribbon through
as
bookmark-style closure.

Add coordinated "Banner Love You" and
other
sentiment designs to add message to front.
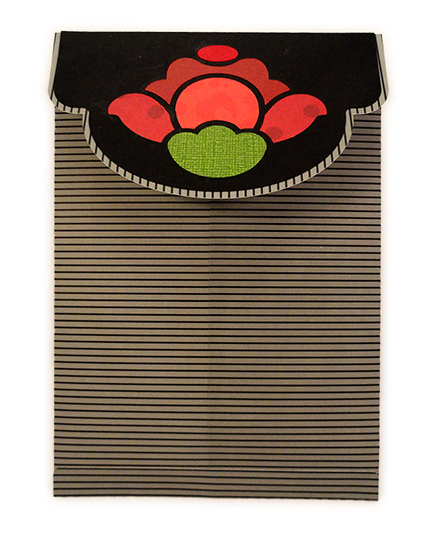
Use coordinated Rose Cutout Flap Env
companion design.
Measures approx. 5.125" x 7.5".
ASSEMBLY: 1. Identify and cut the shapes:
A card front base B card back base
C oval sentiment panel
D rose blossom silhouette
(shows thru as back petals)
E bud unit: base, top, swirl rim
F middle petals left & right, base offset
G front petal with offset base
H sepal overlay
I stem silhouette, leaf base and upper shapes
 2. Bend forward on back base perforation line.
3. Position and attach oval sentiment
space onto space above perforation
on back base shape underside.
NOTE: oval can be placed at end of
assembly, or even attached behind front
card base as desired.
 4. Apply adhesive to the stem area of
back base underside, below perforation line,
then . . .
 . . . position front base over back base,
adjust for perfect edge alignment, then
apply pressure to secure gluing.


 6. Position mid petals onto base shape
(shows thru as bend accent) with matched
edges, and glue in place.
 7. Position front petal onto its base as shown
with offset edge, and glue in place.
 8. Position and join whole leaf, upper half leaf,
then . . .
 . . . position over the matching area of stem
silhouette and attach.

 10. Position bud unit over card front,
matching edges with front offset edges,
and glue in place.
 11. Position middle blossom unit where
front card base dictates, and attach.
 12. Position front petal onto assembly
where matched sepal area edges
indicate, and attach.

 14. Position stem unit onto card front.

 15. Optional: select an arched banner
sentiment that can be attached to the
front of the card.
There are several positioning options --
here across blossom, or . . .
 . . . across leaves, or . . .
 . . . below sepal, or . . .
 . . . vertically.


A card front base B card back base
C oval sentiment panel
D rose blossom silhouette
(shows thru as back petals)
E bud unit: base, top, swirl rim
F middle petals left & right, base offset
G front petal with offset base
H sepal overlay
I stem silhouette, leaf base and upper shapes

3. Position and attach oval sentiment
space onto space above perforation
on back base shape underside.
NOTE: oval can be placed at end of
assembly, or even attached behind front
card base as desired.

back base underside, below perforation line,
then . . .

adjust for perfect edge alignment, then
apply pressure to secure gluing.

5. Prepare bud unit:
position bud top shape with swirl
rim onto top of bud base,
with matching edges lined up,
and glue.

This is completed bud unit.

(shows thru as bend accent) with matched
edges, and glue in place.

with offset edge, and glue in place.

then . . .

silhouette and attach.

9. Position and attach blossom silhouette
over card front, with narrow margin offset,
and glue in place.

matching edges with front offset edges,
and glue in place.

front card base dictates, and attach.

where matched sepal area edges
indicate, and attach.

13. Position and attach sepal over
silhouette of front petal.


To secure closed card,
use narrow ribbon threaded through
top slots of closed card,
then wrap with thick thread or twine,
in bookmark style.

sentiment that can be attached to the
front of the card.
There are several positioning options --
here across blossom, or . . .


Here is the completed sample card.

Love it :-) I see many occasions for this :-)
ReplyDelete