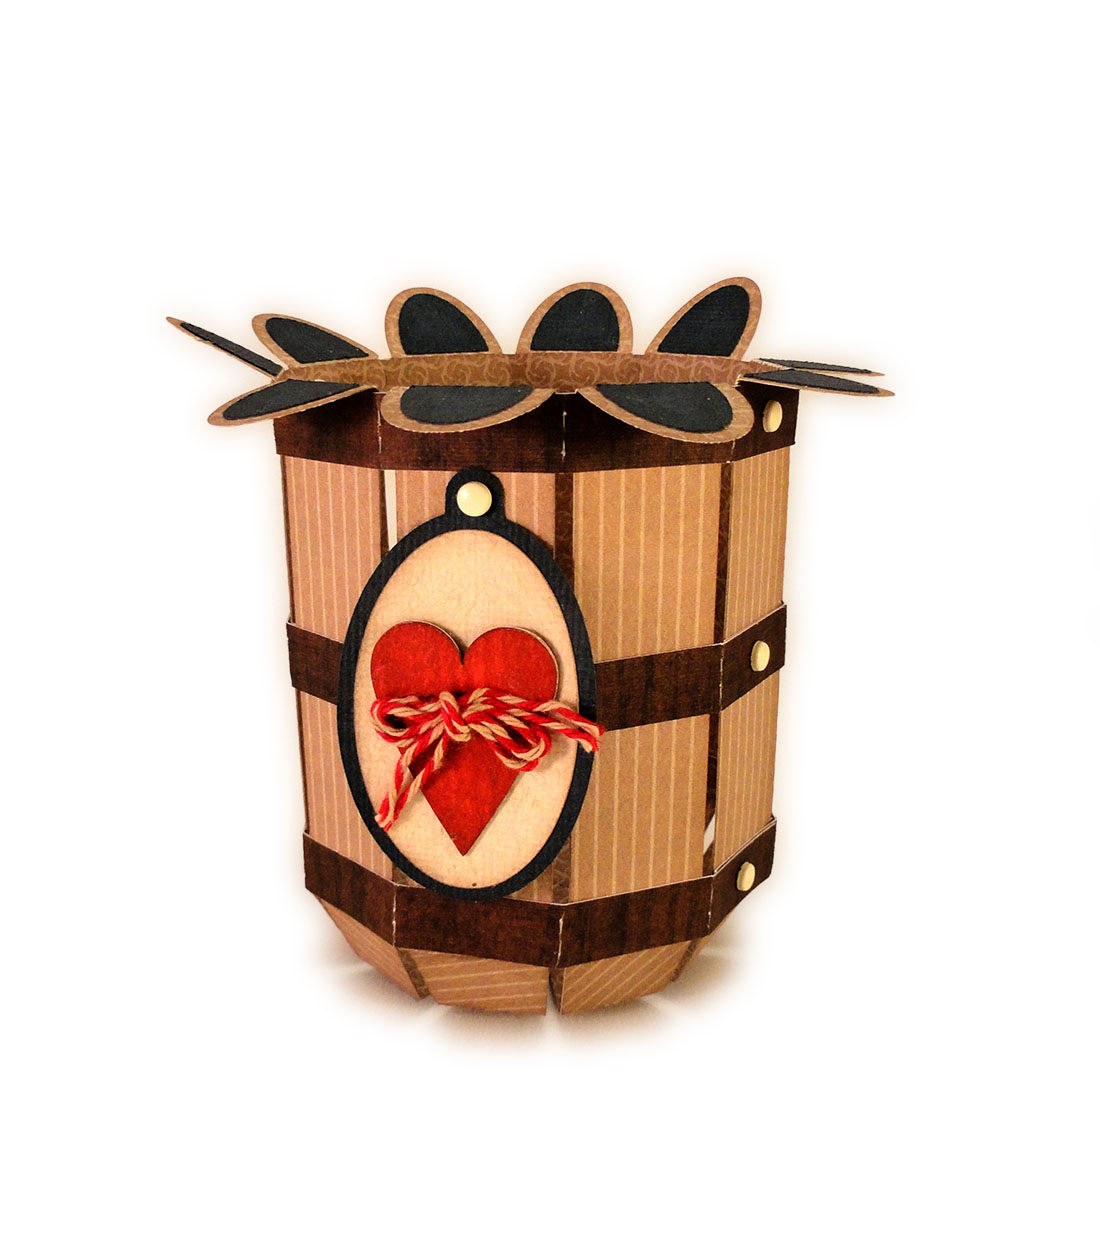
Dimensional six-sided tower has tapered center
column
with brick mortar overlays, faceted base,
crenelated rampart top with
mini bad accents,
upper & lower architectural "bead" details.
Base tray has
finger tabs for easy removal
so castle can be used as a gift box.
Measures
approx. 6.75" tall x 3.25" deep x 3.875" wide.
ASSEMBLY: 1. Identify and cut the shapes.
A main tower panels (6)
B tower brick overlays (3 ea. of window, plain)
C tower lower stabilizer hex
D base riser (2) E base tray
F crenelation base
G crenelation fold-over shapes (6)
H upper tower opening cover
I upper "bead" shapes (2)
J lower "bead" shapes (2)
Not shown: brick overlay window contrast and
optional crenelation brad over strips


 6. Position and attach each brick overlay
onto one tower section, between upper and lower
slots, and between side perforation or straight edges.
 7. Form the tower assembly into a tube to bring
the straight side edge to overlap the opposite
perforation, then join the center, upper and
lower portions as in step 3.

 10. Complete the angle seams by bending two
adjacent upper panels toward the center
to bring the straight side edge to overlap the adjacent
tab perforation line, and glue in place.
Complete for all "available" angle seams.
 11. Form the riser into a ring to bring the remaining
side edge and tab together to join.
Also join the angle seam.

 . . . and push down into position fully.
During this process, insert the riser
interior tabs into the bottom tower slots.
(This for me was the most time-consumer part
of the assembly. It required using a blade tool
like a spatula to help tuck one tab inside, and
glue in place, before working to insert
the remaining tabs.)
 13. Prepare the base tray by bending back on
all perforation and tab lines.
14. Form the tray by bending sides back/upward
to bring straight edge to overlap adjacent perforation
line, and glue in place.


 Bend tabs back and attach to the 'ledge'
of the crenelation shape.


 23. Position and insert the tabs for the second
segment, and follow same procedure to
attach tabs inside tower interior.


 It may be helpful to use a flat tool such as
the spatula shown here, to help guide the
"dog ears" of the left segment miter tabs
under the corresponding edges of the first
segment attached.
 26. Apply glue to the crenelation base ledge,
then position the hexagon cover over the opening . . .
. . . and push into place against the ledge
and apply finger or tool pressure around the edge
to ensure attachment.
 27. Apply glue to the crenelation base ledge,
then position the hexagon cover over the opening . . .
. . . and push into place against the ledge
and apply finger or tool pressure around the edge
to ensure attachment.


A main tower panels (6)
B tower brick overlays (3 ea. of window, plain)
C tower lower stabilizer hex
D base riser (2) E base tray
F crenelation base
G crenelation fold-over shapes (6)
H upper tower opening cover
I upper "bead" shapes (2)
J lower "bead" shapes (2)
Not shown: brick overlay window contrast and
optional crenelation brad over strips

2. Prepare the main tower shapes by bending upper
and lower sections forward slightly, side tabs back.
3. Begin joining tower panels by overlapping
straight side of on panel over the corresponding
tab to perforation line, adjusting top and bottom
of sections, and gluing center segment in place . .

. . . adjusting and gluing top segment . . .

. . . then adjusting and gluing bottom segment
in place.

4. Join the third section in place in the same manner,
then continue joining panels in place until
all 6 are joined into one assembly.

5. Prepare the window style brick overlay
by gluing the edges of the contrast
window under shape behind the window opening.
NOTE: you may design your rook tower with
all window shapes or all plain shapes as desired.

onto one tower section, between upper and lower
slots, and between side perforation or straight edges.

the straight side edge to overlap the opposite
perforation, then join the center, upper and
lower portions as in step 3.

8. Prepare the base riser shapes by bending
back on all perforation lines and tabs.
9. Join the two shapes end to end.

adjacent upper panels toward the center
to bring the straight side edge to overlap the adjacent
tab perforation line, and glue in place.
Complete for all "available" angle seams.
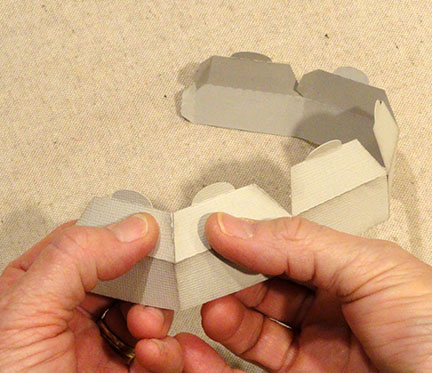
side edge and tab together to join.
Also join the angle seam.

12. Insert the castle tower up through the bottom
of the riser ring . . .

During this process, insert the riser
interior tabs into the bottom tower slots.
(This for me was the most time-consumer part
of the assembly. It required using a blade tool
like a spatula to help tuck one tab inside, and
glue in place, before working to insert
the remaining tabs.)

all perforation and tab lines.
14. Form the tray by bending sides back/upward
to bring straight edge to overlap adjacent perforation
line, and glue in place.

15. Prepare the crenelation base shape in a similar
manner to the tray shape in step 15 above.

16. Insert the top scallop tab end of tower
through the crenelation base opening to the
position where tab perfs line up with straight edge.

of the crenelation shape.

17. Prepare the fold over shapes by bending back
at both perf lines to create a top surface.
18. Position one end over the crenelation edge,
line up the punch circles, and glue in place.
(Bottom straight edge should line up the crenellation
base perf line.)

Bend the back toward the inside of the
tower to line up the bottom and punch circles,
and glue in place.

20. Prepare all bead shapes by bending back on all
perforation lines.
21. Join the upper 'bead' shapes end to end
by overlapping the straight end edge over
the opposite tab perf line.
Also join the lower 'bead' shapes in similar manner.

22. Insert the tabs into the upper and lower
slots for one of the bead segments.
On the inside of the tower, bend the tabs away
from the 'bead' position, and glue in place.

segment, and follow same procedure to
attach tabs inside tower interior.

As subsequent segments are positioned,
NOTE that the left edge should overlap
the previous ends to form a miter seam line.
Apply a dab of glue under the miter overlap
to help them attach.

24. Continue positioning and attaching beads
all around, until the final seam remains.
Push the end tab under the adjacent segment,
while at the same time allowing miter end
overlap as described above here.
Glue in place.

25. Repeat the same process to position and
attach the bottom bead in place.

the spatula shown here, to help guide the
"dog ears" of the left segment miter tabs
under the corresponding edges of the first
segment attached.

then position the hexagon cover over the opening . . .
and apply finger or tool pressure around the edge
to ensure attachment.

then position the hexagon cover over the opening . . .
and apply finger or tool pressure around the edge
to ensure attachment.

28. Prepare the bottom tower stabilizer hex
by bending the edge tabs upward.
29. Position the stabilizer into the bottom opening
of the tower bottom, and . . .

. . .insert until the hex and
tower edges line up as closely as possible.
Pinch the layered edges in place to secure adhesive.

30. Insert the base tray into the bottom of the tower . . .

. . . then attach decorative contrast brads as desired.
Use cover strips to hide brad prongs on the inside
as desired.
Here is the finished tower.

Castle tower chess box has a companion
Knight chess box design available, too.