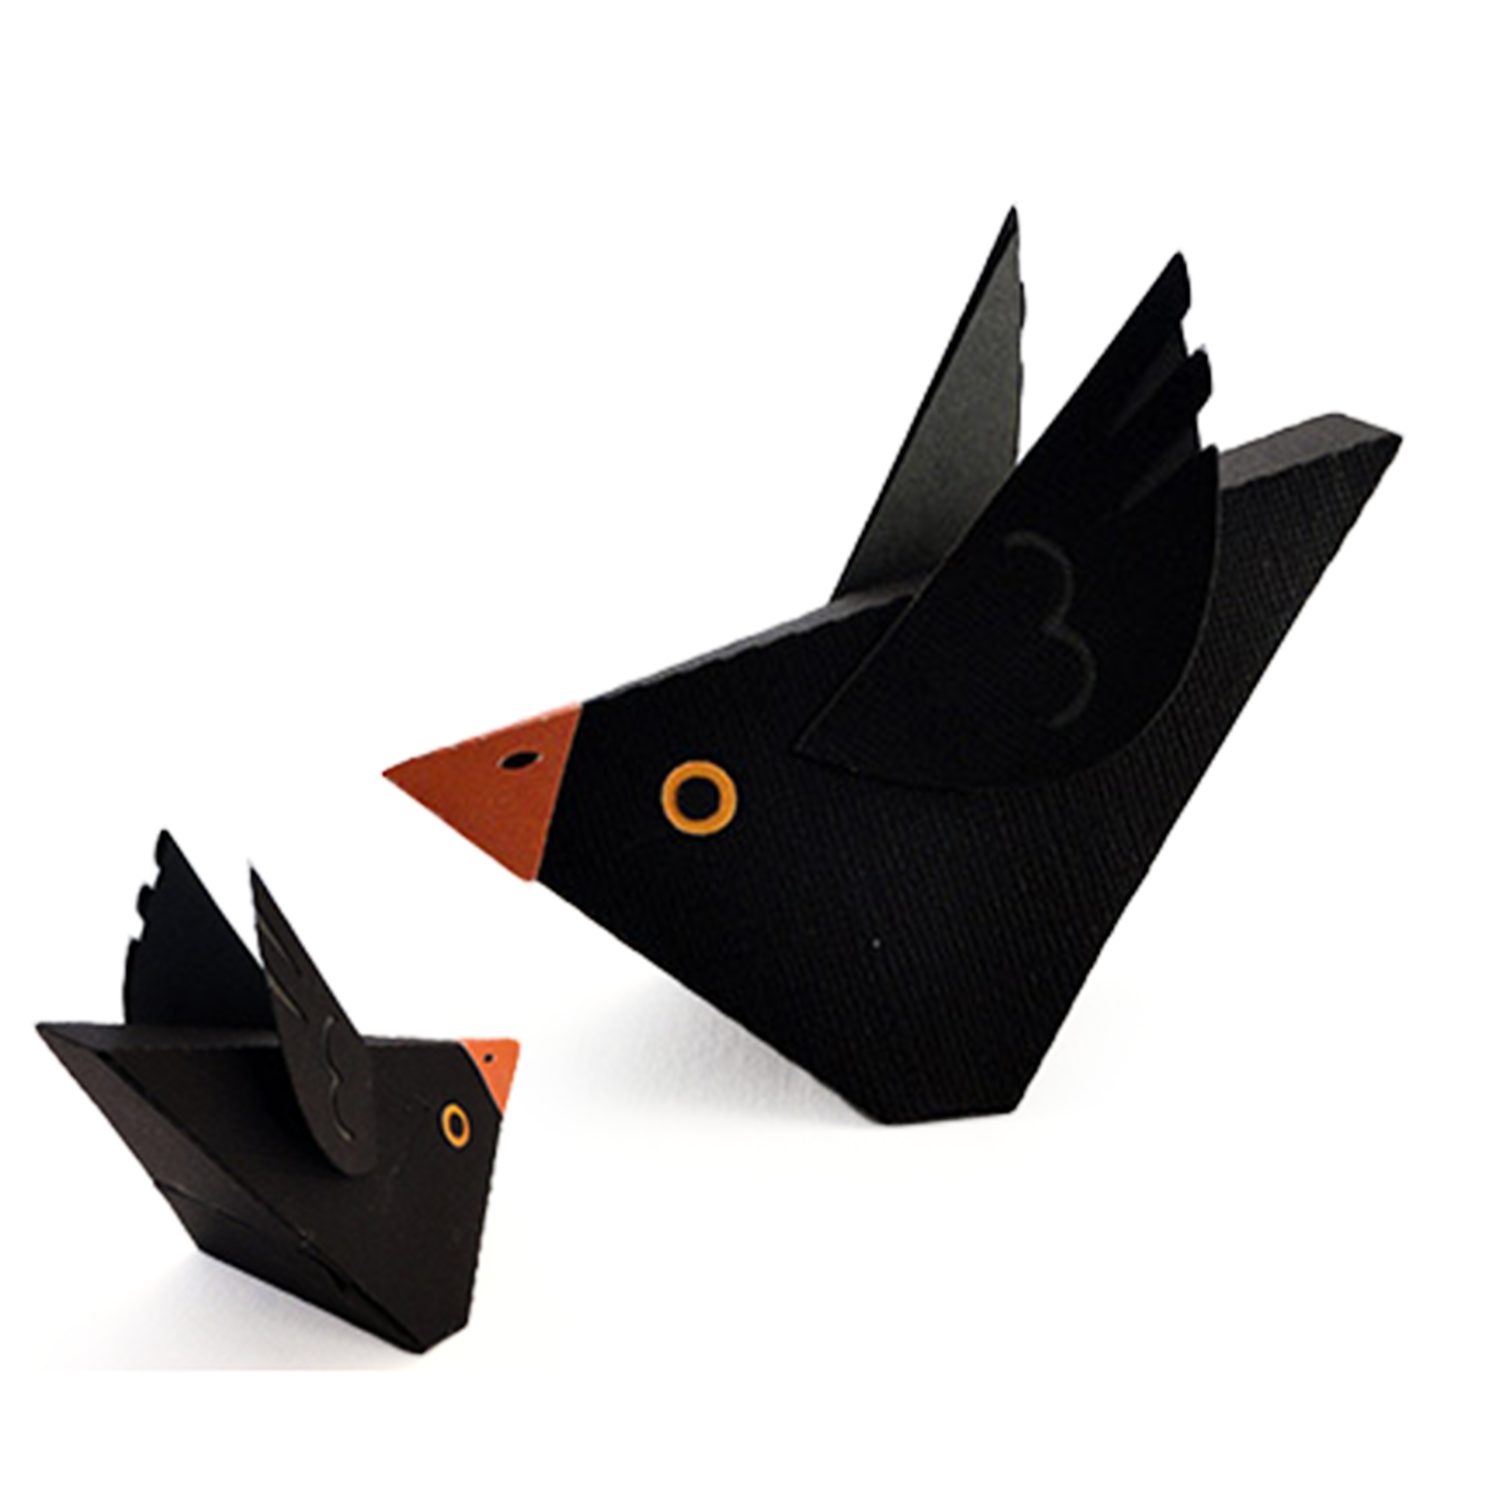
This little crow doesn't look like the menace that Mr. Scarecrow thinks he is!
Made of card stock, his body is one piece with just the basic additions
of double circle eyes, pyramidal shaped beak, layered wings.
Assemble one to sit on an artificial pumpkin (or even a real one),
place him with other autumn decorations on a shelf,
or pair him up with the 3d scarecrow shelf sitter.
He is made to fit and sit neatly on the scarecrow's "shoulder".
CONSTRUCTION

1. These are the cut pieces that go together to create the 3d crow. NOTE the one-piece body, and the contrast wing base pieces.
(Missing from this layout is the pair of smaller black circle inner eyes.)

2. Begin by folding the body at all the perforations. Fold all the tab and body perforation lines as "mountain" folds (i.e., back-to-back folds).

3. Fold the front body area into a triangle shape so that the near-eye edge overlaps the front lower body tab. Apply glue to the tab, re-align, and apply pressure until glue is secure.

4. Swing the under-tail section containing the slots down so that tab perforations align with side body lower edges. Apply glue, re-align and hold edges and tabs in place, applying pressure, until the glue is secure.

5. Apply glue to the tabs on each side of the narrow base section.

6. Reposition base section so bottom center side edges of body align with tab perf edges. Hold in place until glue is secure.

7. For weight and to help the crow sit on his base surface and not fall backwards toward his tail, use strong glue such as Fabri-Tack to securely glue a couple of chunky bolts inside the body cavity on each side, on the base rectangle surface.

8. Apply glue to lower under tail surface, below slots.

9. Slide tabs into slots and apply pressure to make a good glued bond between the two pieces.

10. Examine beak piece. Note that one of the four triangle sections has a small circle symbol. This triangle surface is the "inside" layer of the base. Apply glue to the front surface in that triangle area.

11. Fold the shape into a pyramid so that the symbol-containing triangle is under the opposite end triangle shape surface. Hold in place until glue is holding.l

12. Apply glue to the inside surfaces of the beak, then slide in place with the nostril holes at the top and in line with the long narrow front-to-back surface that is the top of the crow.

13. Apply the larger eye circle so that it conceals the cut guide circle in the crow body.
Repeat for the opposite side. Also glue the smaller black inner eye, centered, on the larger eye circle.

14. Glue the wing layers together. Repeat for both wings. Fold the layered wing at the perforation line in a "valley" fold.

15. Apply glue to the wing underside in the triangle area on the triangle end beyond perforation.

16. Position wing front tip at the tiny triangle guide mark on the body. Repeat for both wings. Tip the wings at a matching angle.
Your FIRST crow is done.
Now that you know how quickly he goes together, you may want to create
a whole "murder" of crows!
Here is this wedgy crow bird sitting on the shoulder of the scarecrow mantle sitter:

No comments:
Post a Comment