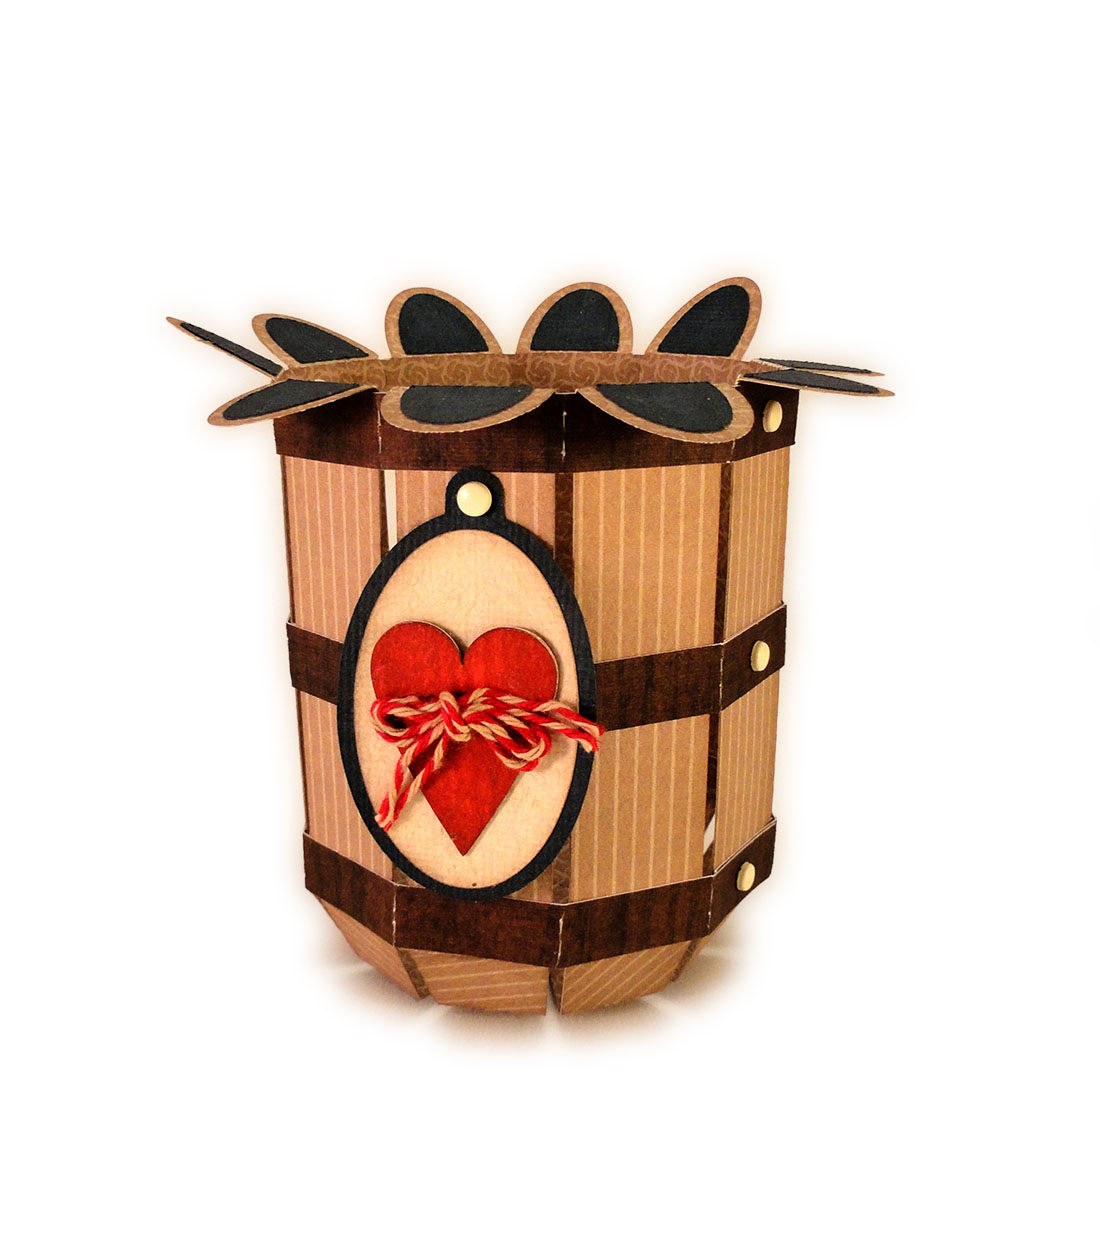
Spaced staves with overlaid cross bands
give this 3d container the charm of a vintage bushel basket.
Petal top ends (with overlay
accents)
can be bent downward or left upright.
Layered oval tag with
hole-punched heart decoration
and mini brad accents add finishing touches.
Basket base decagon and heart "button"
are made with mutli layers to build up thickness.
Finished size is approx. 4.5" tall x 3.25" wide x 3.25" deep.

Use it as a gift or goodies container:
cello bag 2.75" wide (2.5" gussets) x 9" tall
fits perfectly inside, with enough height
to tie with a ribbon or twine.
ASSEMBLY: 1. Identify and cut the shapes:
A side panel (front: tag hole)
B side panel (back)
C base bottom D stave petal accents
E base built up decagons (8)
F cross bands (6)
G oval base and overlay H heart (3)

2. Prepare the side panels by bending each
segment back slightly at perf marks between
each stave and at ends.
Bend (optional) top petals back and attach petal overlays
to the backside (so they will show when bent down)
or on the front (if making the un-bent version).
These panels are shown from the backside.

3. Prepare the basket base by layering and gluing
together the 8 decagon shapes, taking care
to align all cut edges as precisely as possible.
HINT: it may be helpful to use a flat weight
as the base is built up and while adhesive dries.

4. Prepare the base shape by bending the spokes
at the perforation marks.
5. Position and attach the built up base
at the center, positioning the base straight edges
under each spoke.

6. Begin to attach one of the side panels
to the base spokes by locating and overlapping
one right end stave end with punch hole
over a base spoke with corresponding punch hole.
Stave bottom straight edge should overlap
to the perforation line, and holes line up.

7. Continue to line up each stave lower edge
with the next spoke in sequence, overlapping
straight edge to the first segment perforation line,
and centering the stave with its defining side
perforation bends over the base upper end, until . . .

. . . all of the staves of first side panel are attached.

8. Join the second side panel to the first
by overlapping the hole-punched right end
of added panel over extensions of first panel.

NOTE that extensions have 'half hole' end shaping
to assist with proper positioning behind the
punch holes of the added panel.

9. Continue attaching the bottom edges
of staves to base spokes in the same manner
as in previous steps, until . . .

. . . the final joint is completed.
10. Overlap the first panel's right straight edge
over the second panel's extensions,
align punch holes over half-hole shaping,
and attach.

11. Prepare the cross band shapes by bending
back at vertical perforation marks.
12. Position the first band so that punch holes
line up over corresponding holes in basket sides,
and perf bends line up at angles between staves.
Glue in place.

13. Position second band so that end punch holes
line up over the holes of previous band,
perf marks at angles, etc., Glue in place.
Repeat to attach the remaining pairs of
bands at center and bottom positions on basket.

14. Attach mini brad accents at side punch holes.

15. Prepare the heart "button" by carefully
layering the 3 heart shapes so that punch holes
and cut edges line up as exactly as possible.

16. Layer the oval tag shapes, then
position and attach the heart button.

17. Position the tag so that the hang punch hole
line up with the remaining punch hole on the
side stave of the front panel,
and attach, then add mini brad accent.

Here is the completed folk heart basket.

bonjour,
ReplyDeleteest ce que se sera en vente sur le site silhouette ? merci
Patine, avez vous voire cet design est en vente maintenant dans la boutique en ligne aujourd'hui?
DeleteOui, mais il sera plus tard à la fin de mars. Il sera publié d'abord comme " libre " forme de la semaine ", puis en vente dans la boutique en ligne.
ReplyDeletebonjour,
ReplyDeleteil est magnifique ! de plus il est offert , c'est un suberbe cadeau merci tout plein martine
Tres beau....very nice. It is actually "free design of the week" on Silhouette!
ReplyDelete