Position the body base behind the fence unit,
centered and with bottom straight edges aligned,
and glue in place.
13. Position and attach the face to the head base,
aligning curved edges that should match up.
Position and attach the eye contrast panel into
the head base recess.
Position and attach the beard over the lower portion
of the face, so that the face bottom edge is hidden,
and the beard is roughly "centered".
14. Position the face/head/beard unit over the body
base head portion and glue in place, taking care
to leave the beard unattached near where the hands
will be tucked under . . .
. . . then position hands with edges tucked under beard.
15. Position hat over top of exposed face/head,
adjusting so that the brim curved edges abutt
at beard top edges, pausing . . .
. . . to tuck the forelock under the brim edge,
then glue forelock and hat in place.
If desired, position the reversed back hat shape
behind the hat/body base shape to improve
the appearance of card if seen from the back.
16. Apply glue or adhesive to the face side of
each side flange of fence assembly, then
tuck the unit behind the second set of cascade
walls as shown here. Push the fence assembly
down to approx. 1/4" above the cascade bottom edge,
adjust to be centered, then apply pressure through
the layers so that the flanges attach to cascade walls.
17. Prepare the pot assembly by positioning
and attaching the separate coins on top of
the coin base.
Also position and attach the front pot shape,
rim and shamrock shaped onto the pot base.
18. Position and attach the coins unit behind the rim.
19. Position and attach the pot assembly onto
the front panel.
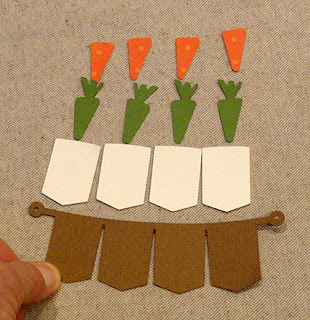
20. Prepare to assemble the flag banner array by
laying out the shapes, then . . .
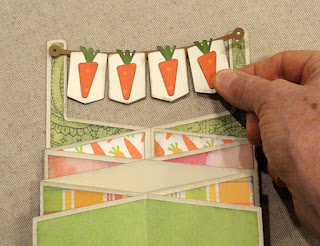
. . . layer inner flags and letters onto flag bases,
then attaching to the stringer.
21. Position the stringer punch ends over
the uprights so that holes align, and attach in place.
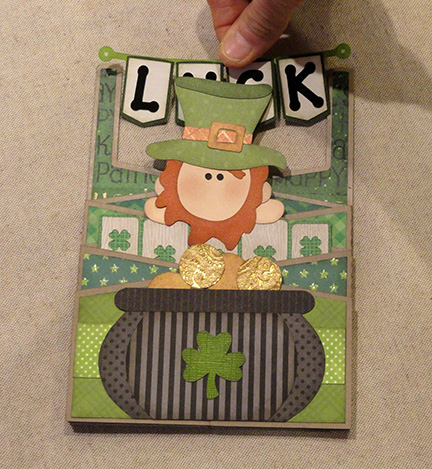
Here is the completed card, with cascades
spread forward so that it can stand for display.
Here is the completed card.