you probably don't need any cheering.
But just in case, this straw man might be just the friend for you.
Built entirely of cardstock modified "boxes" -
plus cotton canvas collar and garden gloves in this example -
he takes a little constructing, but then he is ready to give back.
Create one for your seasonal decor, then let him stay through October.
Cut file design available from SnapDragon Snippets and the
Silhouette America online store.
CONSTRUCTION TUTORIAL

1. Here are the pieces for the head and face portion. Note that I have kept the smile and eye accent pieces grouped from the original cut file layout, cut them from the same solid black paper, then retained the cutout area as a template that will be used for tracing guidemarks onto the head front. This will assist in positioning the complete face layout to be just like the original.

2. These are the cut pieces for the arms component (far left top and bottom), and torso section, with "pants" decorative overlays.

3. These are the embellishment pieces, including paper glove fronts and backs, with contrast underlays, suspenders, patches, buttons bow tie (separate cut file 3d bow – narrow” design #37446 reduced to 85% of
orig. size), cotton canvas collar.

4. These are the cut pieces for the legs "boxes" (all across top) and base. Please note that the legs design was simplified for the final design submission, so that the pieces at the center here were replaced with back pieces that are nearly identical to the front pieces (3rd in from left and right on top row). This image shows the bottom of the legs at the top of the picture.
ront

5. These are the cut shapes for the shoe "boxes".

FACE & HEAD
6. Use retained "stencil" to lightly mark eye accent positions and smile onto face front.
Glue face features in place, including cheek grid circles under the smile-end circles before positioning and gluing on the smile.

7. Fold nose at perforations:
center as a "mountain" fold
side flanges as "valley" folds.
Insert flanges into slots on head front.
(Note that this image shows the face blank. It may be easier to attach the face features BEFORE attaching the nose.)

8. Apply glue on the outside areas next to slots, so that the nose flanges will bend toward the sides of head when being glued into place.

9. Locate the lower head boxing piece that includes the neck stem slot. Fold all perforations as "mountain" folds. Position and attach lower face edge to center flange of boxing. Then position and attach the side flanges to corresponding head edges.

10.Locate upper head boxing piece and fold all perforations as "mountain" folds. Align and attach head top edge with center section flange. Align and attach other flanges to corresponding head edges.

 |
12. Align head back shape over flanges on back edges of attached boxing. Position and attach each edge with corresponding flange, using trapdoor to reach inside to help apply pressure to the individual edges being attached.


14. Open trap door and insert neck stem through opening in head boxing base edge, so that stem flanges are inside.
Apply glue to underside of flanges then glue in place.

15. Apply pressure to attachment area until edges are secure.

1. Fold torso front and back perforations as "mountain" folds. Position and attach all the pants accent pieces to corresponding sections at lower portion of torso shapes.

2. Build torso into a box by aligning and attaching appropriate edges of front to flanges of back, and vice versa.

Continue attaching all flanges to edges until the torso resembles a ceral box, with back trap door, top surface neck stem opening, and side arm openings.

3. Fold suspenders at upper perforations, then position exactly at each side of neck stem opening and attach upper and lower surfaces with glue.

4. Prepare circle buttons by attaching a ring to a button base. I like my buttons to have more dimension, so I cut 2-3 (or more) base shapes, glue them up, then attach the ring (or maybe more than one ring, too).

5. Prepare heart buttons in similar fashion, using several layers for dimension.

If you like details, consider inserting black perle cotton cord through holes and tying into a knot and bow to simulate having stitched on buttons.
Attach round buttons at torso center between suspenders. Attach heart buttons at lower ends of suspenders.

6. Locate and arrange two arm shapes with tabs at the top and slots at the bottom as shown. Align, overlap straight edge over flange, the glue to attach. NOTE that the lower section will have edge and flange overlap in a different direction than the top section. Take care to align edges of the neck stem opening as exactly as possible.

7. Fold all tabs and flanges at perforations as "mountain" folds, and end perforations as "valley" folds. Fold long arm assembly into a square "tube" with tabs aligned with slots. Apply glue to long slot edge flange, and to tabs if desired. Insert tabs into slots, then apply pressure along edge until glue is secure. Use a long square rod or stick to offer a press-against surface at the seam edges being joined.


8. At each arm edge, arrange long wider ends so that triangle inset with flanges folds neatly between. Apply glue to triangle flanges and attach to corresponding edges.
Also apply glue to the tabs at ends, then bring these together and apply pressure or pinch together to assist gluing process.

9. If you will be cutting the gloves from fabric that will cinch at the wrist, poke a stick or similar object through the gate windows at the wrist on both arm ends. These notches at the corners of the arm structure will provide a place for the cinching to pull in and tighten around the arm.

BASE BOX, LEGS AND SHOES
10. Build the base box by folding flanges/boxing, and tabs at perforations in "mountain" folds, then aligning and attaching corresponding edges with glue. NOTE that the base upper large surface includes an opening where the bottom of the torso box will be inserted. The front edge of that opening on the base includes a wide "tab" that is folded as a "mountain" fold, but not attached to anything. The same shape is found on the narrow boxing portion of the base.

11. Identify the leg boxing sections, two for each of right and left legs. Align and attach tab to straight edge of multi-notched end.

12. Curl the multi-notched boxing portion of each leg to give it a curve simulating the finished shape at let top.

13. Locate the small cut guide mark at each end of the multi notch section. Find the corresponding notch marks at the ends of leg top curves.

14. Align curved front edge with boxing notched area, with guide marks lined up. Adjust and attach with glue on notches. Work as glue cures to ensure that the curve of leg and boxing line up as perfectly as possible.
Align and attach straight parts of boxing to straight side edges of leg. At bottom, boxing flange will simply be attached to the back of the leg at whatever position it naturally falls. It will NOT line up with the sawtooth design edge.

15. When the front is in place, align and attach the back in similar fashion, using the trap door to reach in to apply pressure to edges being attached.
(NOTE this image should show the trap door on the leg back, but does not.)

16. Align and attach a front to a back for each of the left and right shoes. Fold perforations as "mountain" folds. Align and attach upper boxing piece tab to front bottom boxing portion of front shoe, where matching symbols line up.

17. Fold boxing piece around and attach each edge flange to the corresponding edge of shoe shape. At the opposite end, attach tab to bottom boxing area edge.

18. Fold back up into position, and attach each boxing flange to corresponding edge of shoe. Open trap door and reach inside to assist the gluing process.

During the back gluing process, if may be necessary to use pressure at ends of shoe shape to "flex" the boxing into more perfect position, then hold and smooth until glue holds.

19. Slide each shoe between the sawtooth extensions of leg bottom, then align hole punches with shoe punches. NOTE that this is a snug fit.

20. Thread cord or jute onto a large-eye needle, then insert from back to front, etc., to form an "X" pattern on the front of the leg.

String should finish with two adjacent ends on the backside. Tie these off neatly and trim ends.

ASSEMBLY AND PAPER GLOVES
1. Attach legs to base front edge using strong adhesive such as Fabri-Tack or hot glue. Skew the left leg slightly to add character to your scarecrow. NOTE that shoes should face outward.
Insert lower end of torso box into the base opening, aligning side holes of all layers. Attach with strong glue.

2. Use a long (upholstery) needle to thread 2 separate pieces of cord or jute through aligned holes from one side to the other.

Tie these off into neat knots and bows, then secure with liquid glue.

3. Slide arm through body side holes, with tab/slot edge toward the back of the figure. Align neck stem hole exactly. Apply adhesive between the top layers, if desired.

4. Position collar at torso top edge, with neck stem hole aligned. Notched side is back.
NOTE this image shows the cotton canvas collar, but paper can be used as well. Simply fold the paper at the front/back perforations as "mountain" folds. Apply strong adhesive to undersides and hold in place until secure.
View fabric cutting tutorial images at the end of this post.

5. Insert neck post with head into neck hole. Apply strong adhesive to underside of head then apply downward pressure to securely attach head to collar and torso.

6. The final finishing step for the entire figure is to attach all concealing ovals over finger holes of trapdoors, then attach extending oval edges to corresponding box edge.

7. On back side of each glove "front" position and attach a contrast cut shape to provide better visibility to stitching detail slots.

8. Fold perforations on front and back glove pieces. Fold inner perfs as "mountain" and outer perfs as "valley" folds.

9. Apply adhesive to edges and wide edge portion at lower side edges of front glove pieces.

Position a front and a back, align edges, then apply pressure and make adjustments until glue is secure. Repeat for other glove.

10. Thread black perle cotton cord into a darning needle that will fit through hole punches. Begin at lowest (opposite thumb) hole on front and insert needle through to backside, leaving a 5 inch tail. Thread needle down-up through holes on the back, then at top hole bring the "down" stitch through to front. Stitch along front to come "up" through last empty hole. Trim excess leaving 5" tail.

11. Tie tails in neat knot and bow. Trim excess ends and secure knot with glue.

12. Slide arm into open glove end until it is snuggly in place. Apply glue to connecting surfaces inside.
ALTERNATIVE FABRIC GLOVES AND COLLAR TUTORIAL

1. To cut the collar from cotton canvas, select that shape from the file and fit it economically onto a corner of the preview mat on the Silhouette work screen as shown. Take note of the dimensions shown when it is selected.

2. Use the dimensions of the cutting area from screen, add 1.5 inches in each direction for clearances, then cut a piece of lightweight fusible webbing (I use Heat N Bond Lite). NOTE that the Silhouette Cotton Canvas product already may have the fusible web (which they incorrectly call "interfacing") attached. These steps simulate that preparation.

3. Lay the fusible web (glue side down) over the cotton canvas yardage and cut out a matching rectangle.

4. Follow fusible web instructions to secure the fusing to the backside of canvas using a hot iron.

5. Remove paper backing when the fusing and fabric unit has cooled.

6. Position the rectangle to cover the designated area as set up on the Silhouette cutting screen.

7. Follow the steps and settings adjustments to cut the shape. Remove the shape from the cutting mat. Finger-fold along perforations to give it shape that will follow the torso upper edges against which it will be adhered. Attach it with regular adhesive.

8. Follow a similar procedure to position front pair of fabric shape gloves on screen mat, take measurements, cut fusing then canvas, fuse the layers, position on mat, and cut. Then repeat for glove fronts pair.

9. Use a paper cut shape of the tracing template centered over the pair of "fronts to transfer edge stitching line and ending notch, section division lines, and threading dots using temporary marking tool.

10. Use a sewing machine and dark (black) thread to stitch across the line, pivot at the ends, and back again to layer 4 passes of stitching on the same line. Leave tails at beginning and end. Repeat for each of four lines on each of the pair of fronts.

Turn glove front over and pull loops to bring front tails to back, then tie all off in double knot; trim ends close.

11. Layer a front with corresponding back glove and take care to align edges. Begin stitching where notch tracing indicated, and backstitch once or twice to secure. Stitch with medium length stitching exactly along traced line, pivoting between fingers. Stitch to opposite notch guide mark, then backstitch as at the beginning and tie off neatly.


12. Thread perl cotton onto darning needle, then refer to the paper instructions to create cinch stitching in similar fashion.
However, with fabric gloves, the tails will fall one on the front of glove and one on the back, and at the top, the stitching will simply wrap over the raw edge seam allowance.

13. Slide glove onto the end of the appropriate arm (thumb will point upward), align cinch stitching with the gate-fold notches on arms, then pull threads to cinch tightly. Tie off with neat knot and bow and secure with dot of glue. Trim ends neatly.
Now your straw man is ready for display, but you'll probably want to
dress him up with 3d scarecrow straw hat,
3d narrow bow tie bow design #37446 (reduced to 85% of
orig. size),
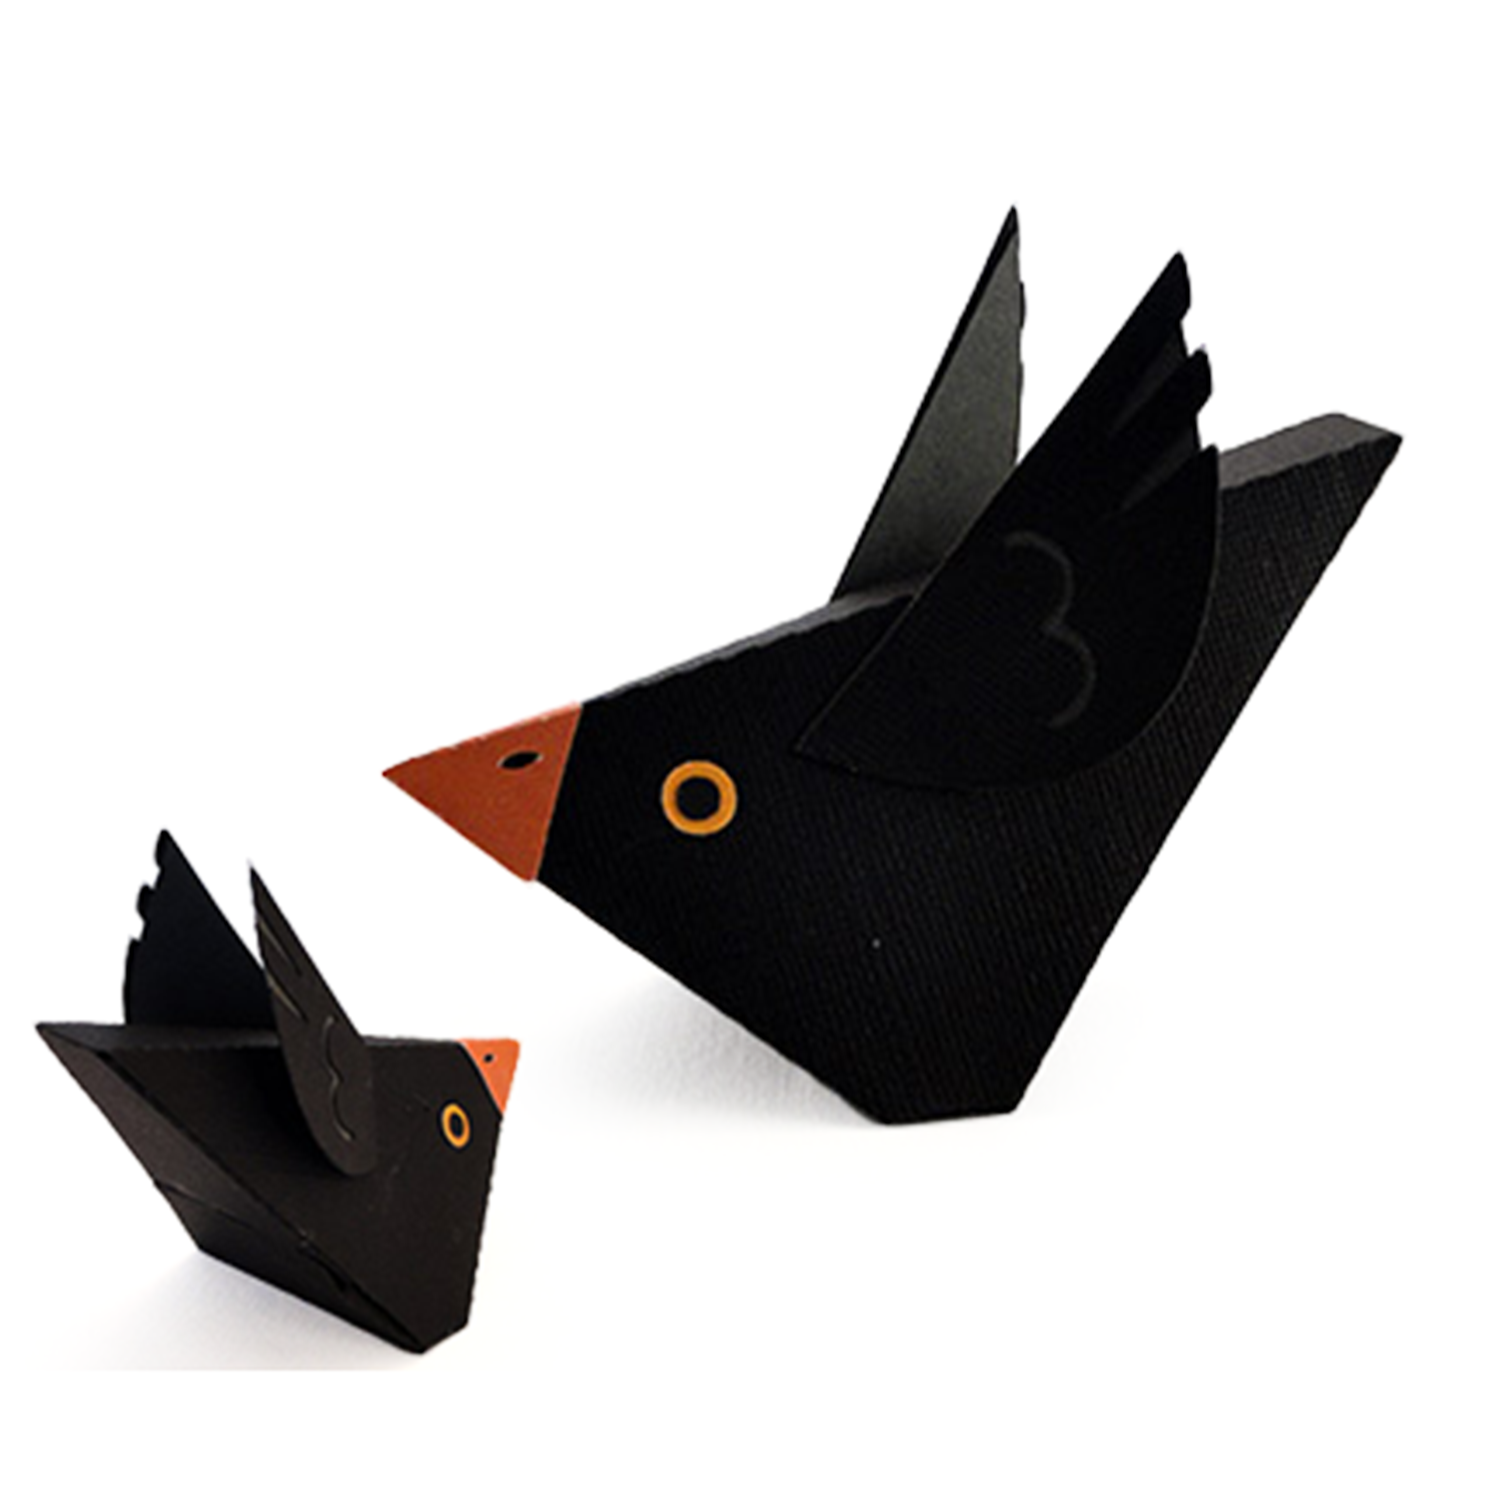
then provide him a feathered friend in the 3d crow bird wedgy,
and give him something to hold on his lap (3d pumpkins pair cubic).